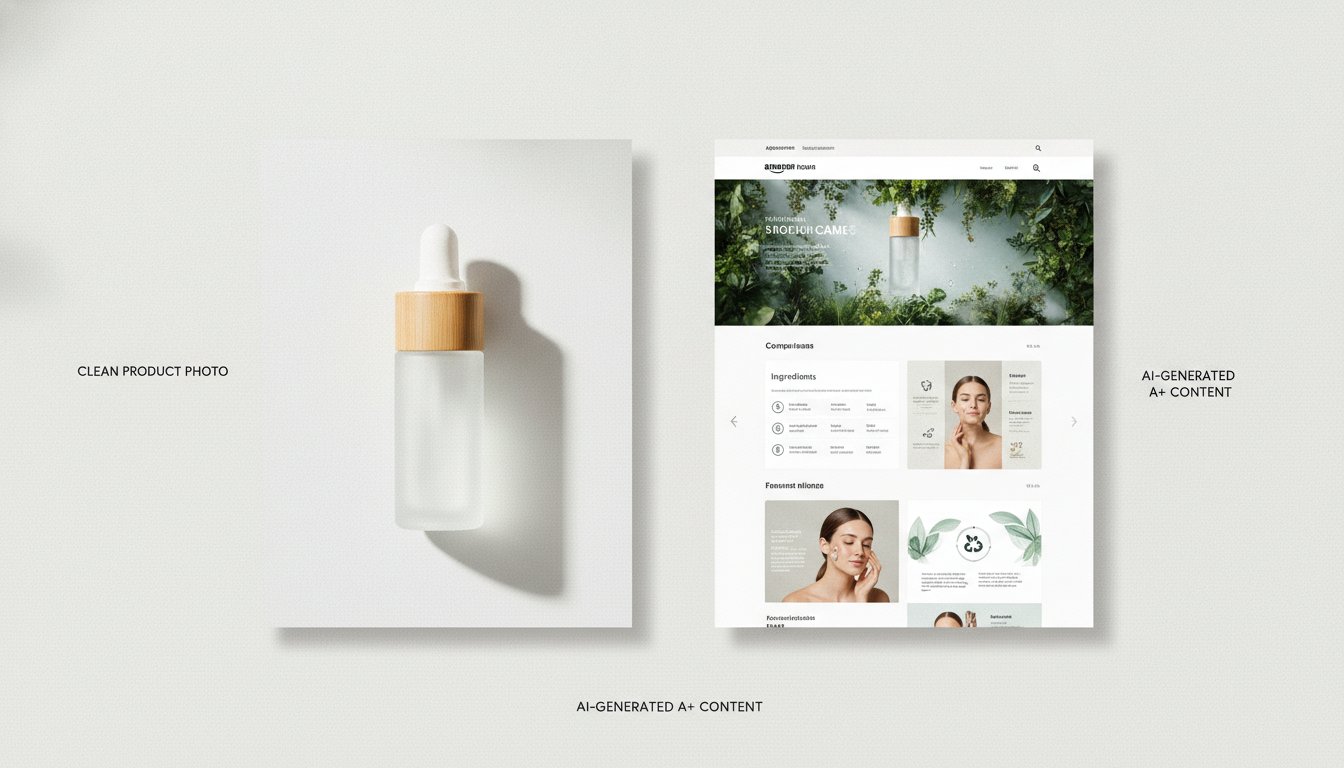
AI Product Photo Tools Every Seller Should Know (2026)
A practical, tool-by-tool guide to the AI image tools that fix real product-photo problems — background removal, staging, on-model fitting, ratio and upscaling — and when to use each.
Sunghoon Kang
Jul 18, 2026 · 5 min read
Most sellers don't have a bad product — they have a bad photo of a good product. One shot on a messy desk, inconsistent lighting across the set, a background that screams "shipped from my apartment." You don't need a photographer to fix that anymore; you need to know which AI tool solves which problem. This is a practical, tool-by-tool guide.
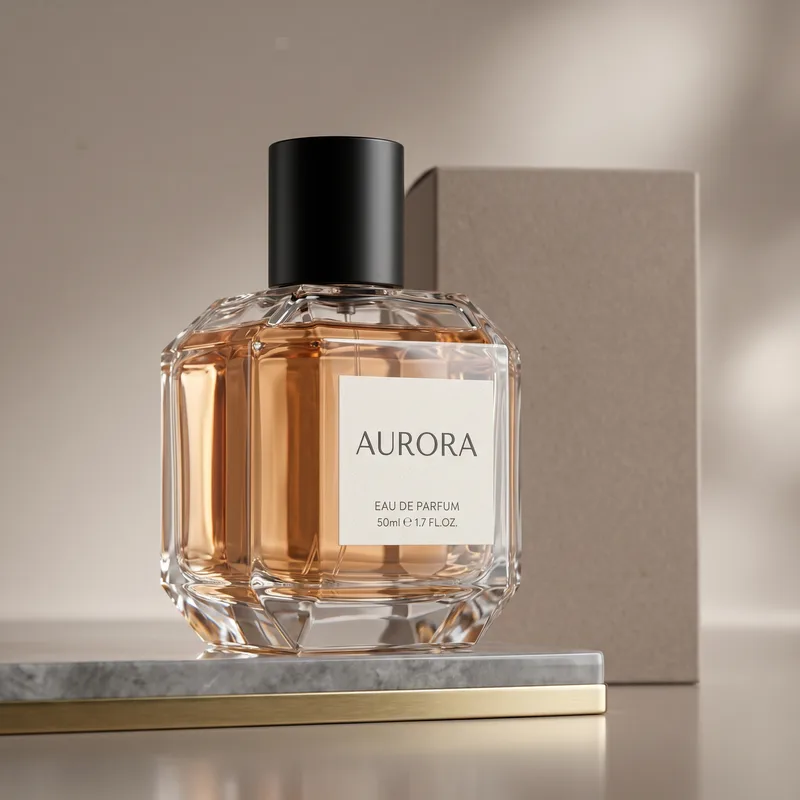
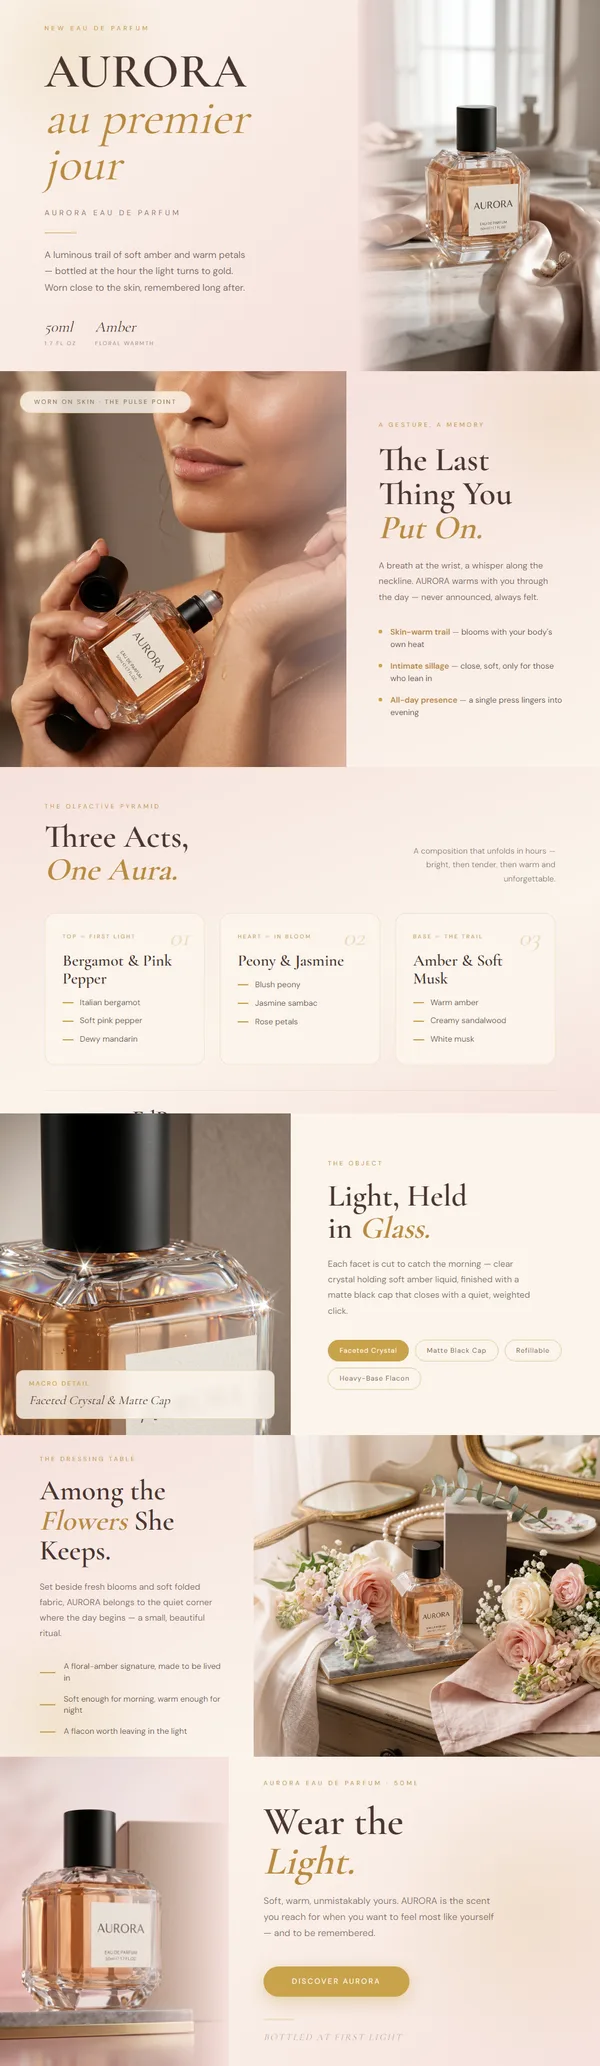
We build these tools, so treat this as informed but biased. The honest part: AI can't rescue a blurry, badly-lit photo — garbage in, garbage out still holds. What it does brilliantly is everything after a decent shot: the cutting, staging, and standardizing that used to eat an afternoon in an editor. That's the part worth automating.
Start with one rule: one clean source photo
Every tool below assumes you start from a single, in-focus, well-lit photo of the actual product. AI adds context, backgrounds, and models — it does not invent detail that isn't there. Get one honest shot on your phone near a window, and the rest is editing.
The tools, by the problem they solve
1. Background removal (cutout) — "my background is a mess"
The workhorse. It isolates your product onto a clean transparent or white background in seconds. You need this because Amazon requires a pure-white main image, and because a clean cutout is the starting point for everything else — staging, ratio changes, and detail-page layouts all work better from an isolated product.
Use it when: you need a marketplace-compliant main image, or before staging a product in a new scene.
2. Background change / staging — "my product looks like it's floating on white"
Once the product is isolated, staging places it into a real scene — a fragrance on a marble counter, a kettle in a bright kitchen, a sneaker on a studio backdrop. This is the single biggest jump in perceived quality, and it's where cheap listings and premium ones visibly diverge.
Use it when: your white-background shots look sterile and you want lifestyle or premium context without booking a set.
3. On-model fitting — "I can't afford a model shoot"
For apparel, footwear, and accessories, fitting tools put your product on a model so shoppers can see fit and scale. Instead of one flat-lay of a shirt, you get it worn — which is what buyers actually want to evaluate before adding to cart.
Use it when: you sell things people wear or hold, and flat product shots aren't converting.
4. Ratio change — "my image is the wrong shape for where it needs to go"
A main image, a story banner, a detail-page block, and a social post all want different aspect ratios. A ratio tool re-frames an image to the shape you need — filling in the extended edges — instead of ugly cropping that cuts off the product.
Use it when: you're reusing one image across the listing, the storefront, and ads.
5. Upscale / enhance — "my only good photo is too small or soft"
Enhancement sharpens and increases the resolution of an image so it holds up when zoomed on a product page. It's the rescue tool for a good composition trapped in a low-resolution file.
Use it when: you have the right shot but it's small, slightly soft, or was saved down at some point.
A repeatable workflow (this is the real trick)
Individual tools are nice; a consistent set is what makes a listing look professional. The workflow that works:
- Cut out every product photo onto the same clean background.
- Stage them in the same scene or on the same backdrop, so lighting and mood match.
- Fit on a model if it's a wearable, using the same model/pose direction across the set.
- Ratio-change each image to the exact sizes your marketplace and storefront need.
- Upscale anything that's going to be viewed large.
Run every image through the same steps and the whole set looks like one shoot — which is exactly the signal that separates a trusted store from a random one.
How to choose an AI photo tool
- Starts from your real product photo, not just stock or text prompts.
- Covers the whole chain — cutout, staging, fitting, ratio, upscale — so you're not stitching five apps together.
- Supports your category, not fashion-only.
- Keeps the product faithful — the label, color, and shape must stay true; "creative" tools that redraw your product are a liability.
- Has a free tier so you can test on your own photos before paying.
Bottom line
You don't need a studio to look like you have one. Start with a single honest photo, then let AI handle the mechanical parts — cutting, staging, fitting, resizing, sharpening — and reserve your time for the choices that actually sell: which scene, which angle, which benefit to lead with.
GENCY lite bundles these AI tools in one place — background removal, staging, on-model fitting, ratio change, and enhancement — alongside full A+ Content and detail-page generation. Signup includes 5,000 free credits with no card required, so you can run your own photos through the whole workflow before deciding.